
Creating Dynamic Designs with SVG Clip Paths
Irene gives a tutorial on how you can create dynamic designs using SVG (scalable vector graphics) clip paths.


With WordPress 5.0 being released so soon, there has been some mixed reactions concerning the new editor that comes with the update – Gutenberg. It provides a more visual way of creating pages and posts on WordPress and it’s a huge change from the classic editor that we are all used to.
At Wibble we have been running Gutenberg on this website for quite some and have found, after some teething problems, that it is quite a useful tool to use for building content inside a WordPress page or post.
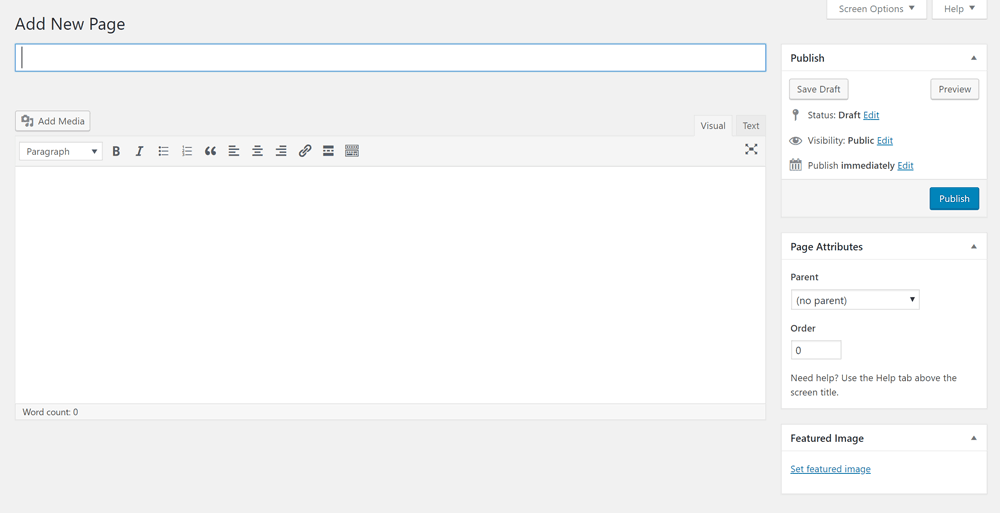
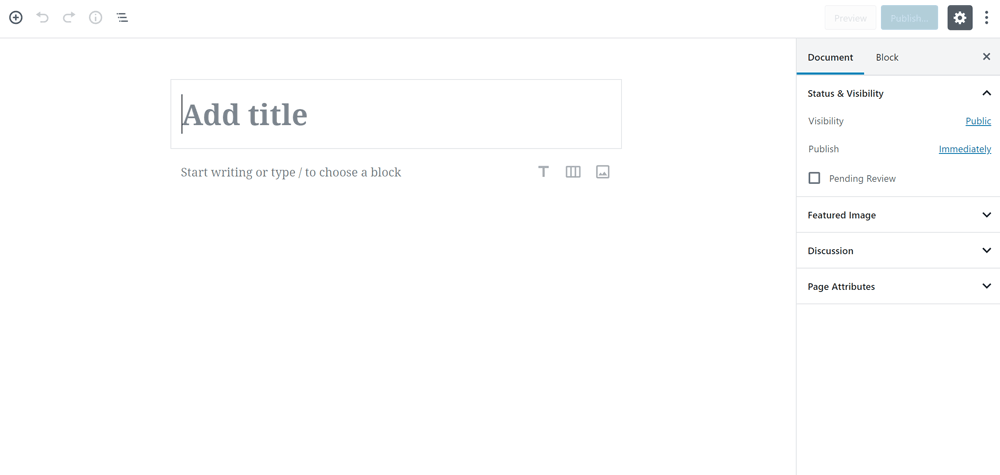
So let’s take a closer look at the interface of the new Gutenberg editor.
Quick Tour
Blocks
1. Common blocks
• Paragraph Block
• Heading Block
• Image Block
2. Formatting blocks
• Classic Block
• Custom HTML Block
3. Layout blocks
• Columns Block
• Button Block
4. Widgets blocks
Block Settings
Rearranging Blocks
Document Settings
The Gutenberg interface features a clean and minimal design, and elements, such as the document settings and blocks, are easily accessible.
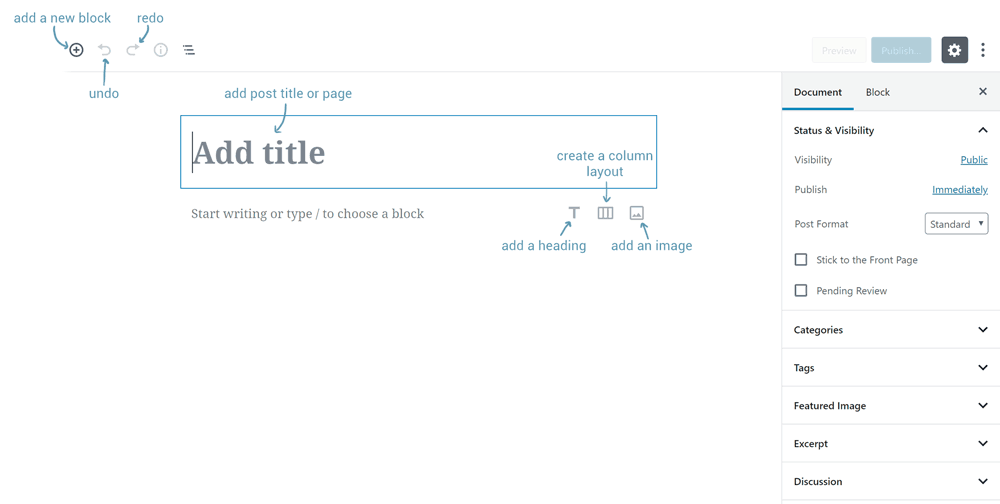
WordPress aims to transform the publishing experience by making it hassle-free and effortless. This is clear from how Gutenberg replaces the need for using features, such as shortcodes, with blocks.
In fact, the core of what makes Gutenberg so appealing is the use of blocks which are pre-constructed components that can be used in the layout of a page.
Blocks in Gutenberg are divided into 6 categories:
This contains the blocks that are normally used in a page, such as heading, images, paragraph text etc.

● Paragraph block
Similar to the previous content editor, paragraph blocks can be used to add text to a page or post.
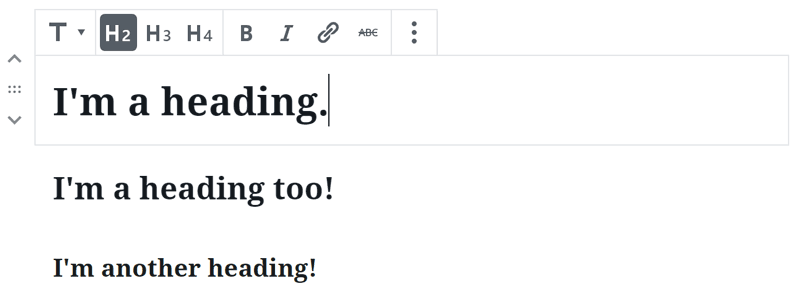
● Heading block
The heading block can be used to add headings and subheadings.
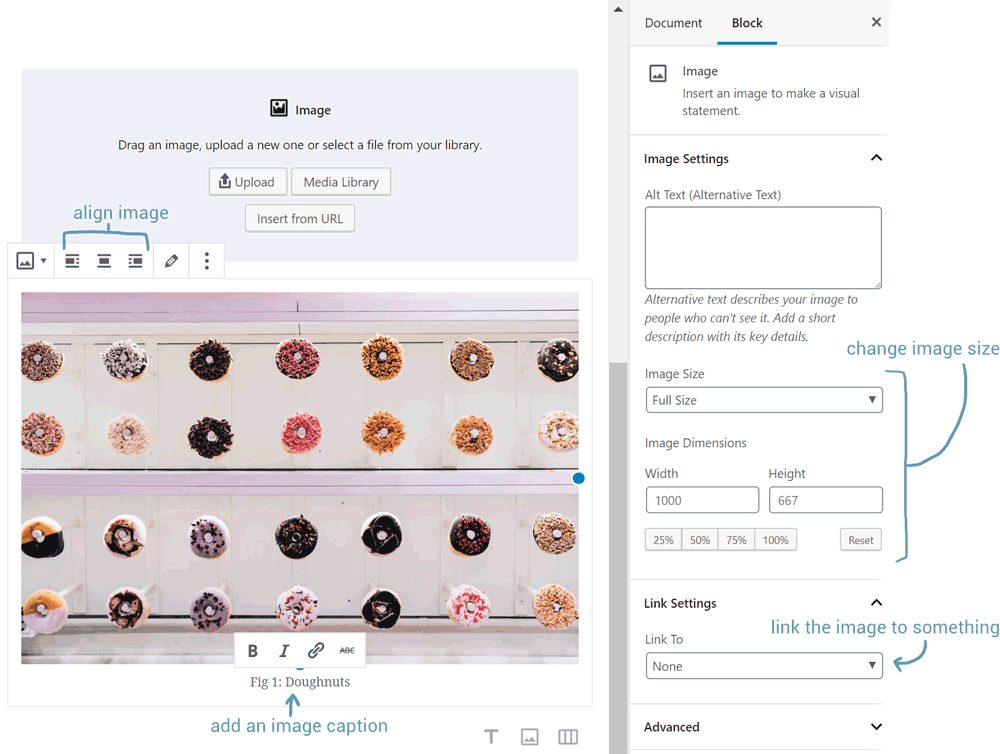
● Image block
Images can be added to a post or page using this block. Through the Block settings in Gutenberg, it’s much easier to customise the image size, add an image description and link the image.
This covers formatting tools, such as tables or the classic content editor.

● Classic block
This gives us the classic content editor that we are already familiar with.

● Custom HTML block
This block allows us to add custom HTML, giving us a little more control of the page or post. Using the ‘preview’ button, we can also see what the code will look like on the actual page or post.

This consists of blocks that control the layout of the page or post.

● Columns block
Columns allows us to easily split content on a post or page into separate columns (from a minimum of 2 to a maximum of 6 columns).

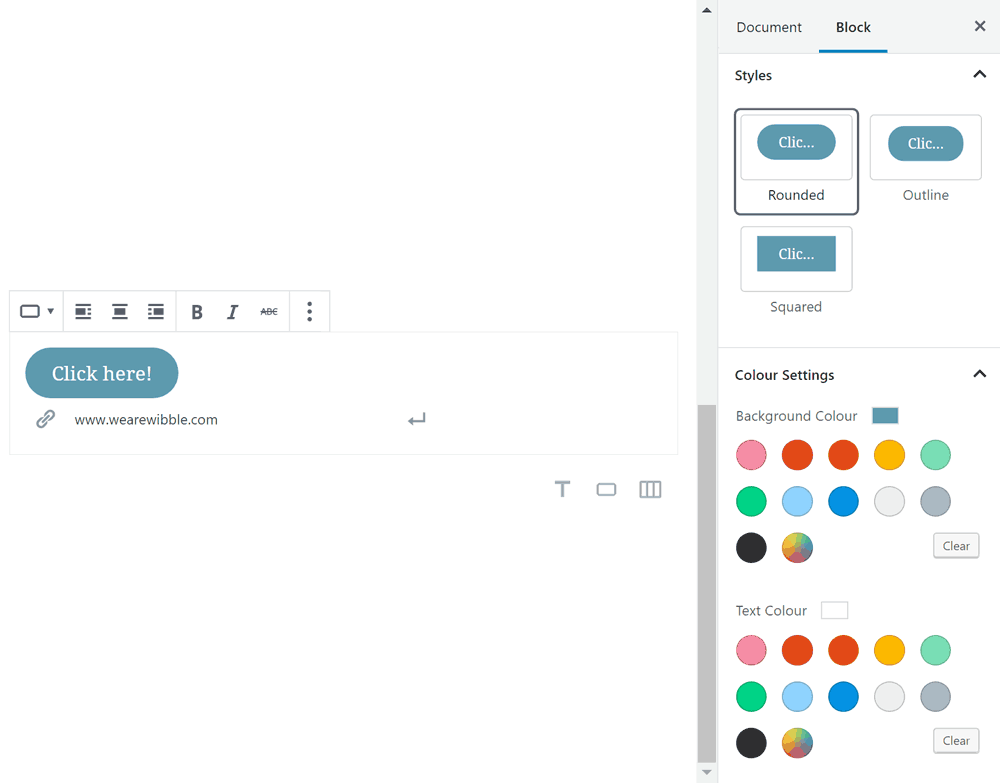
● Button block
With Gutenberg, it’s now much simpler to create a button without needing plugins or custom HTML. The button block allows us to create a button and control the text and link. It also gives us the ability to change the colours and style of the button.
With widgets blocks, we can add shortcodes and list our latest posts, among other blocks.

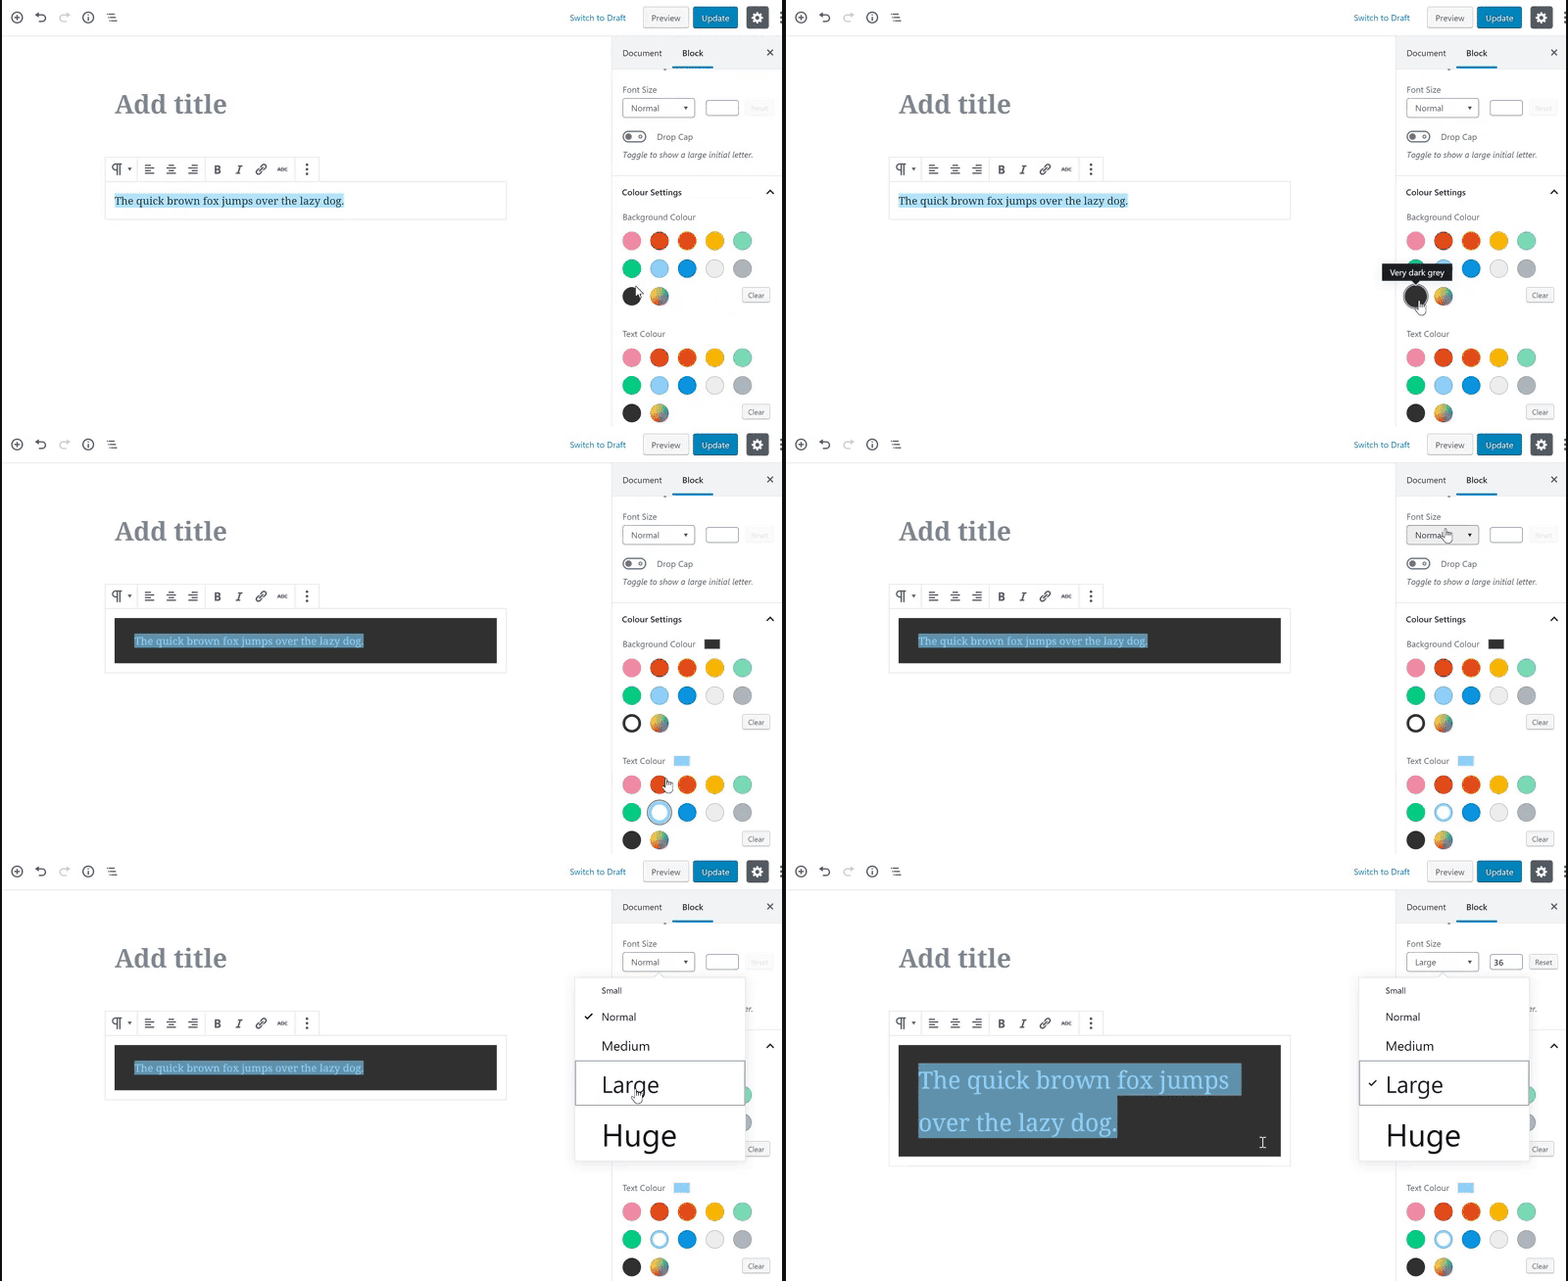
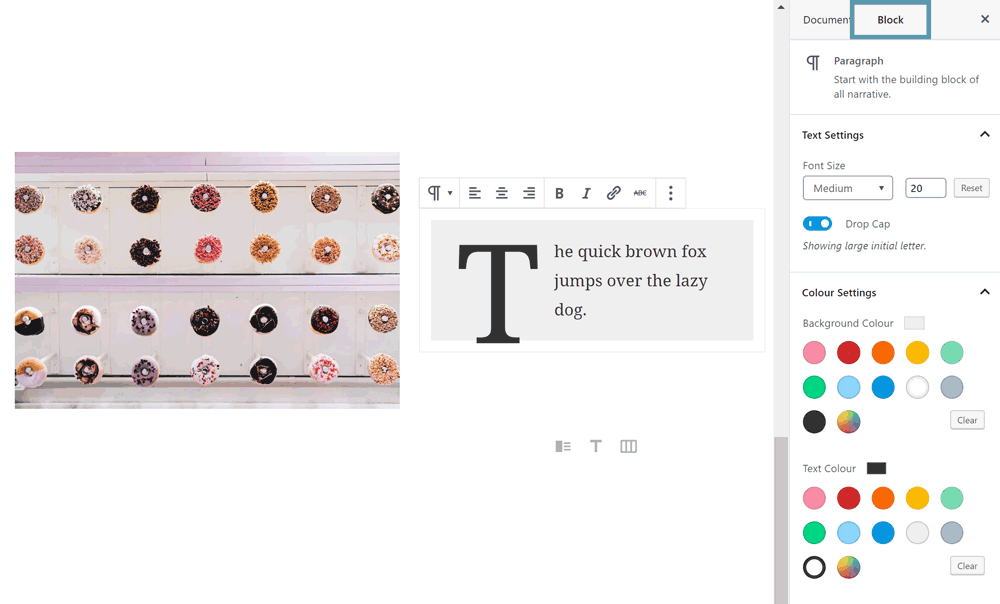
As we have already seen, when a block is selected, we can open the Block tab to view settings for that specific block.
This can help us customise it.
The Gutenberg editor makes it easier to control the layout of a page or post.
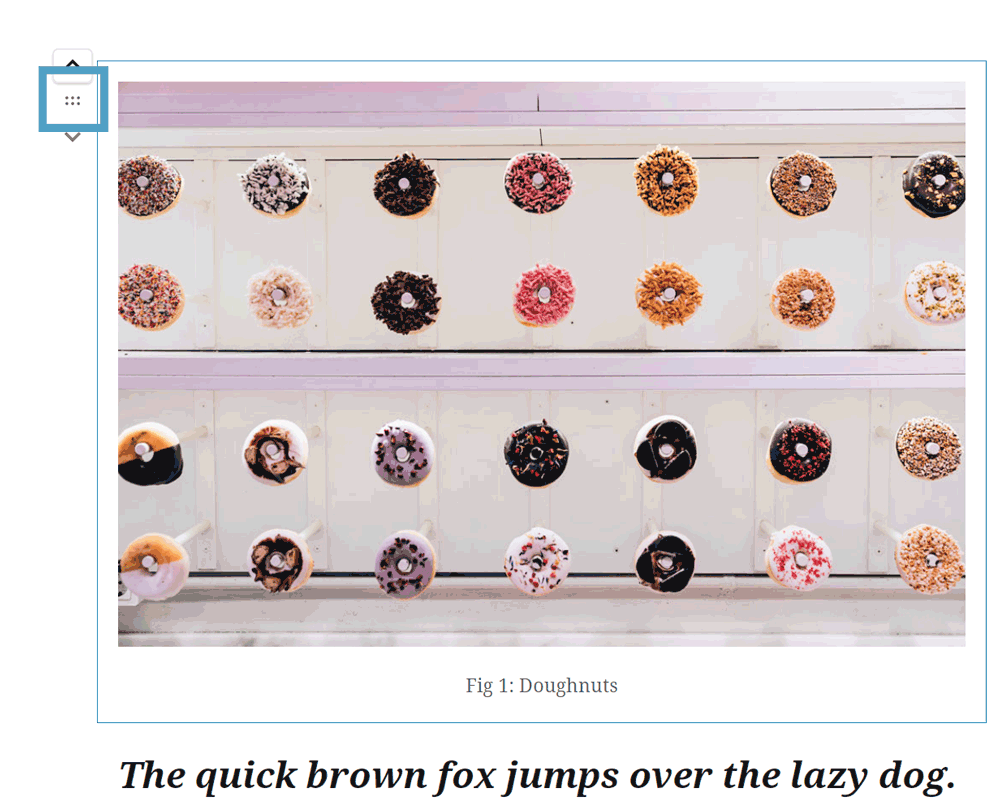
To rearrange blocks, we can use the up and down arrows next to the block to move it above or below neighbouring blocks by one.
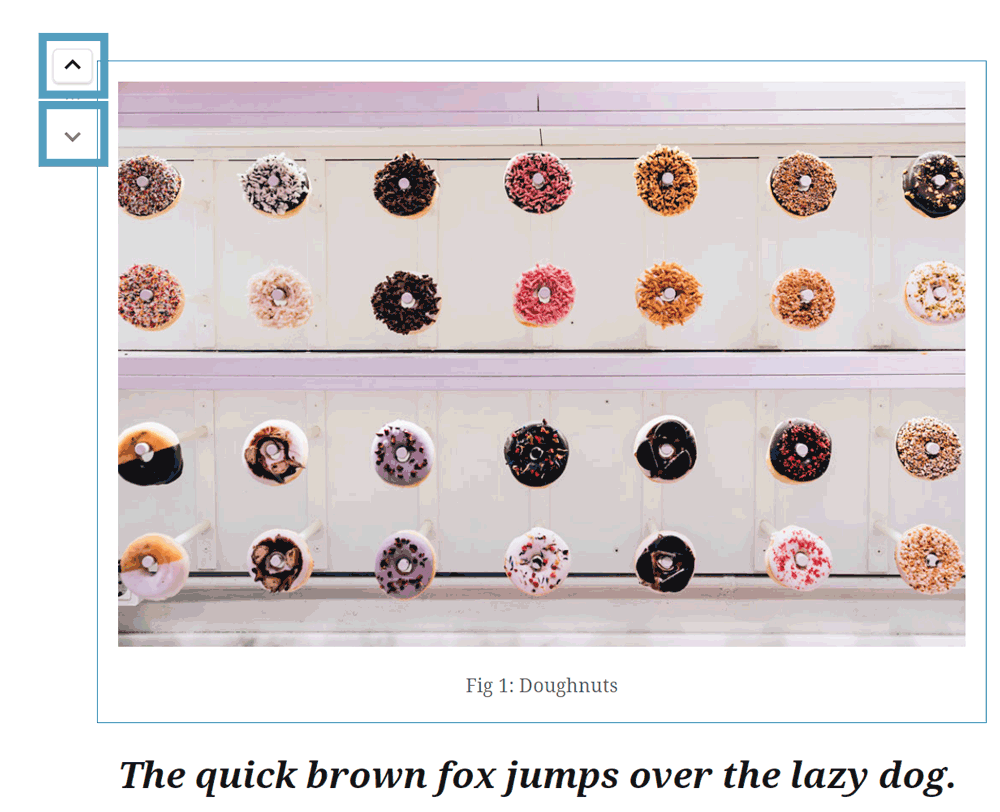
Or, alternatively, we can hold down on the six dots next to the block and drag the block to where we want it to go.
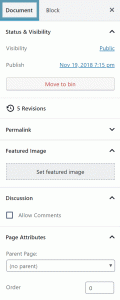
The Document tab contains all the settings associated with a page or post.
When editing a page, the document settings contain elements from the previous classic editor:
When editing a post, the document settings contain:
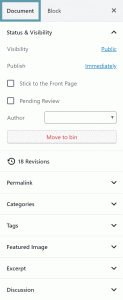
Although Gutenberg is huge step forward from the familiar classic editor, it offers a flexible way for everyone to build pages and posts, from casual users to developers.
In general, we feel WordPress has taken a step forward in terms of content management, it opens the CMS up to a huge variety of layouts and functions. Yes, the learning curve may be slightly steep but it will improve the WordPress offering and this can only be a good thing.
Studio Location
Floor 2,Telephone
+44 (0)28 90 098 678
Get in touch with us today with the details below, or use the contact form to ask us a question and one of our Wibblers will get back to you.
"*" indicates required fields