
Making Wibble Better

Chloe – One month as a Wibbler
Chloe talks about her time at Wibble this last month and her experience and what she has learnt working as our newest Wibbler.

By Chloe Harrison
25 March, 2020 • 5 MIN READ
So what is WooCommerce? WooCommerce is a free WordPress plugin that adds e-commerce functionality to your WordPress website so you can have an online store. It is one of the most popular ways to create an eCommerce store. It has been the platform of choice at Wibble and we have helped many of our clients design, develop and host their online stores.
In this blog we’re going to show you the WooCommerce order management system and the steps you can take to get the most out of running your business with WooCommerce and to manage your orders.
WooCommerce order management is the process of tracking orders from when the customer creates the order to getting it out of your business’s door. Orders are made when a customer finishes the checkout procedure and is visible to users with Admin and Shop Manager roles only. Every order is processed with a unique Order ID.
To access orders, log in to your WordPress admin panel and click WooCommerce and go to orders.
On the orders page, all orders and their information is displayed in each row. Here are some of the details that are displayed in each row:

If you hover over an order status it will display the notes on that particular order.

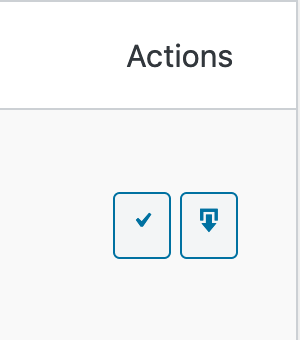
At the end of a row are shortcut buttons to quickly mark orders as Processing or Complete.
If you want more information about your orders, you can click on screen options at the top right corner of the screen. A panel opens, and you can choose which items you want to be displayed.
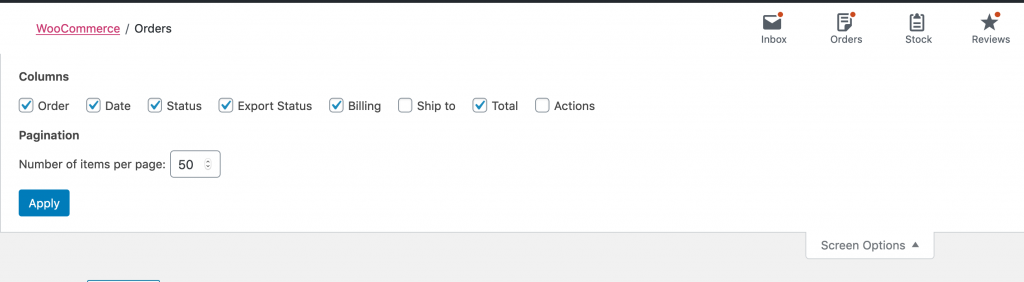
In this area, you can also filter the list of displayed orders by date, status and also search the customer name while using search for a customer tab.

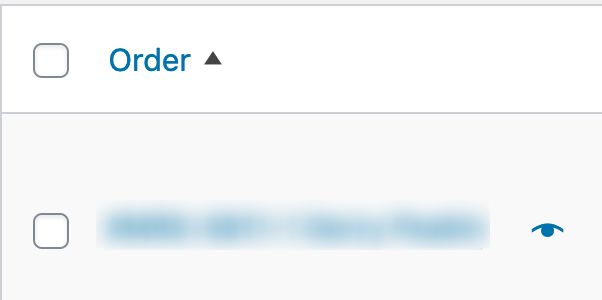
To preview your customer’s orders there is an eye icon that you can click on.
When you click on the preview it pops up the customer’s details containing:
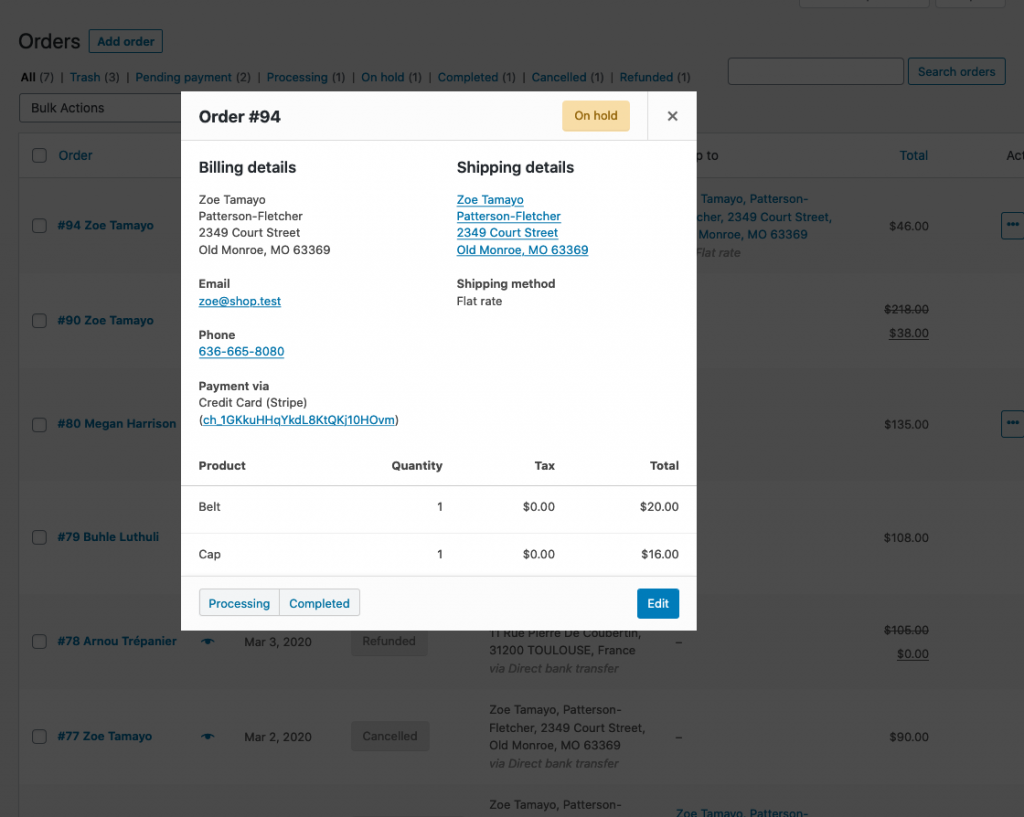
The order status allows you to keep track record from beginning to end of your product sales process. All the order statuses have different meanings and are colour coded so that it is easier to tell them apart when quickly looking through your orders. Here are the following order statuses with their colour codes and what they mean:
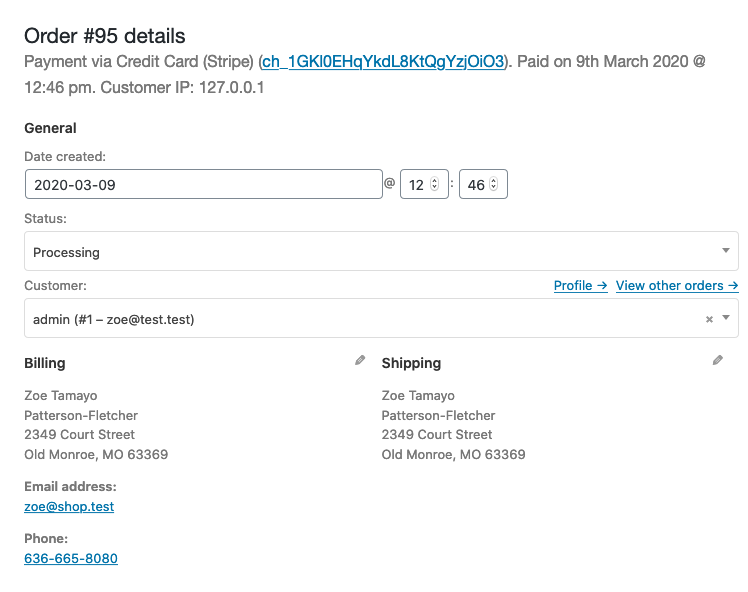
From a single order you can view all the order data but you can edit and update it.
You can modify your orders status while using the order data panel, as well as you can view and change the customer’s order note. You can also change which user the order is assigned to.
You’ll also discover the customer’s shipping and billing addresses, alongside a link to see different purchases that the customer may have had previously. To edit addresses, click “edit” and a form will show up. Once saved, the new address will be displayed in a localized format.
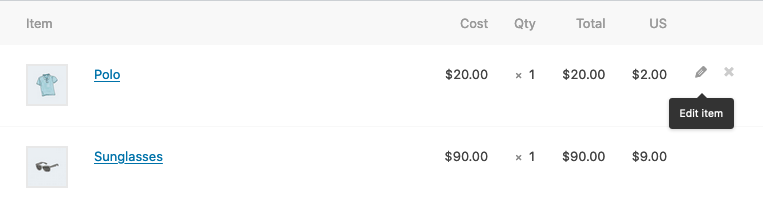
Also, as we proceed further, you can see the next panel on the order page is the order items panel. This panel lets you know the list of items which is in the order alongside their respective prices and quantities.
You can edit the following details:
You can check this panel for order total and tax applied on the order. Also, you can enter these values yourself or have them part calculated for you utilizing the ‘calc totals’ button.
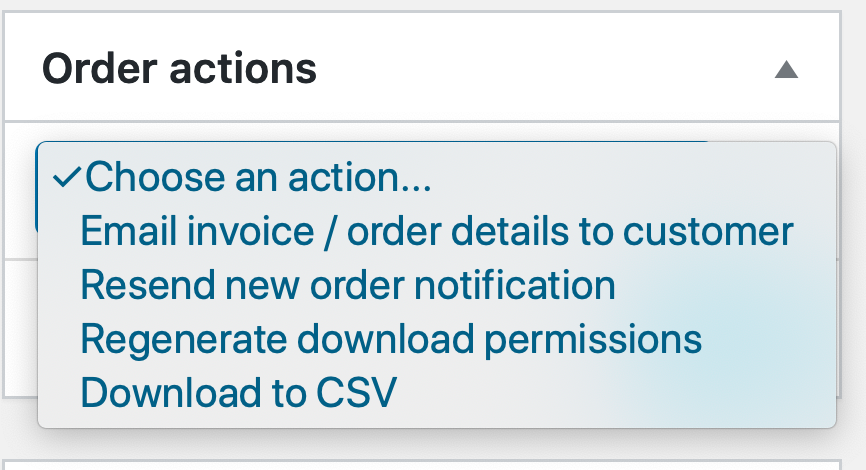
You can see the following options:
You can see the two buttons on this panel:
You can also add your orders manually, on the top of the page you can see the ‘Add Order’ button just click on it and add your product manually.
You must use this feature because this feature is a very powerful tool for creating effective communication with your customers. In order to track a specific customer, you need to have access to their tracking number for shipping. Is some stock getting delayed? Add a customer note and they will be automatically notified.

By being able to manage your orders on WooCommerce will greatly benefit your business as all your products are in one place, where you can see what is selling and what is not selling. It will also improve the efficiency of your online store and help better organise your orders.
Studio Location
Floor 2,Telephone
+44 (0)28 90 098 678
Get in touch with us today with the details below, or use the contact form to ask us a question and one of our Wibblers will get back to you.
"*" indicates required fields