What is WordPress Multisite? and why would I use it? WordPress Multisite takes the hassle of running multiple individual WordPress installs, and instead all your sites are housed under one WordPress install, and one WordPress dashboard. It can be perfect if you have multiple versions of the same site but in different languages, Multisite means you don’t have to log in to each individual dashboard to make global changes. You can even enable network (multisite) wide plugins, and the list goes on.
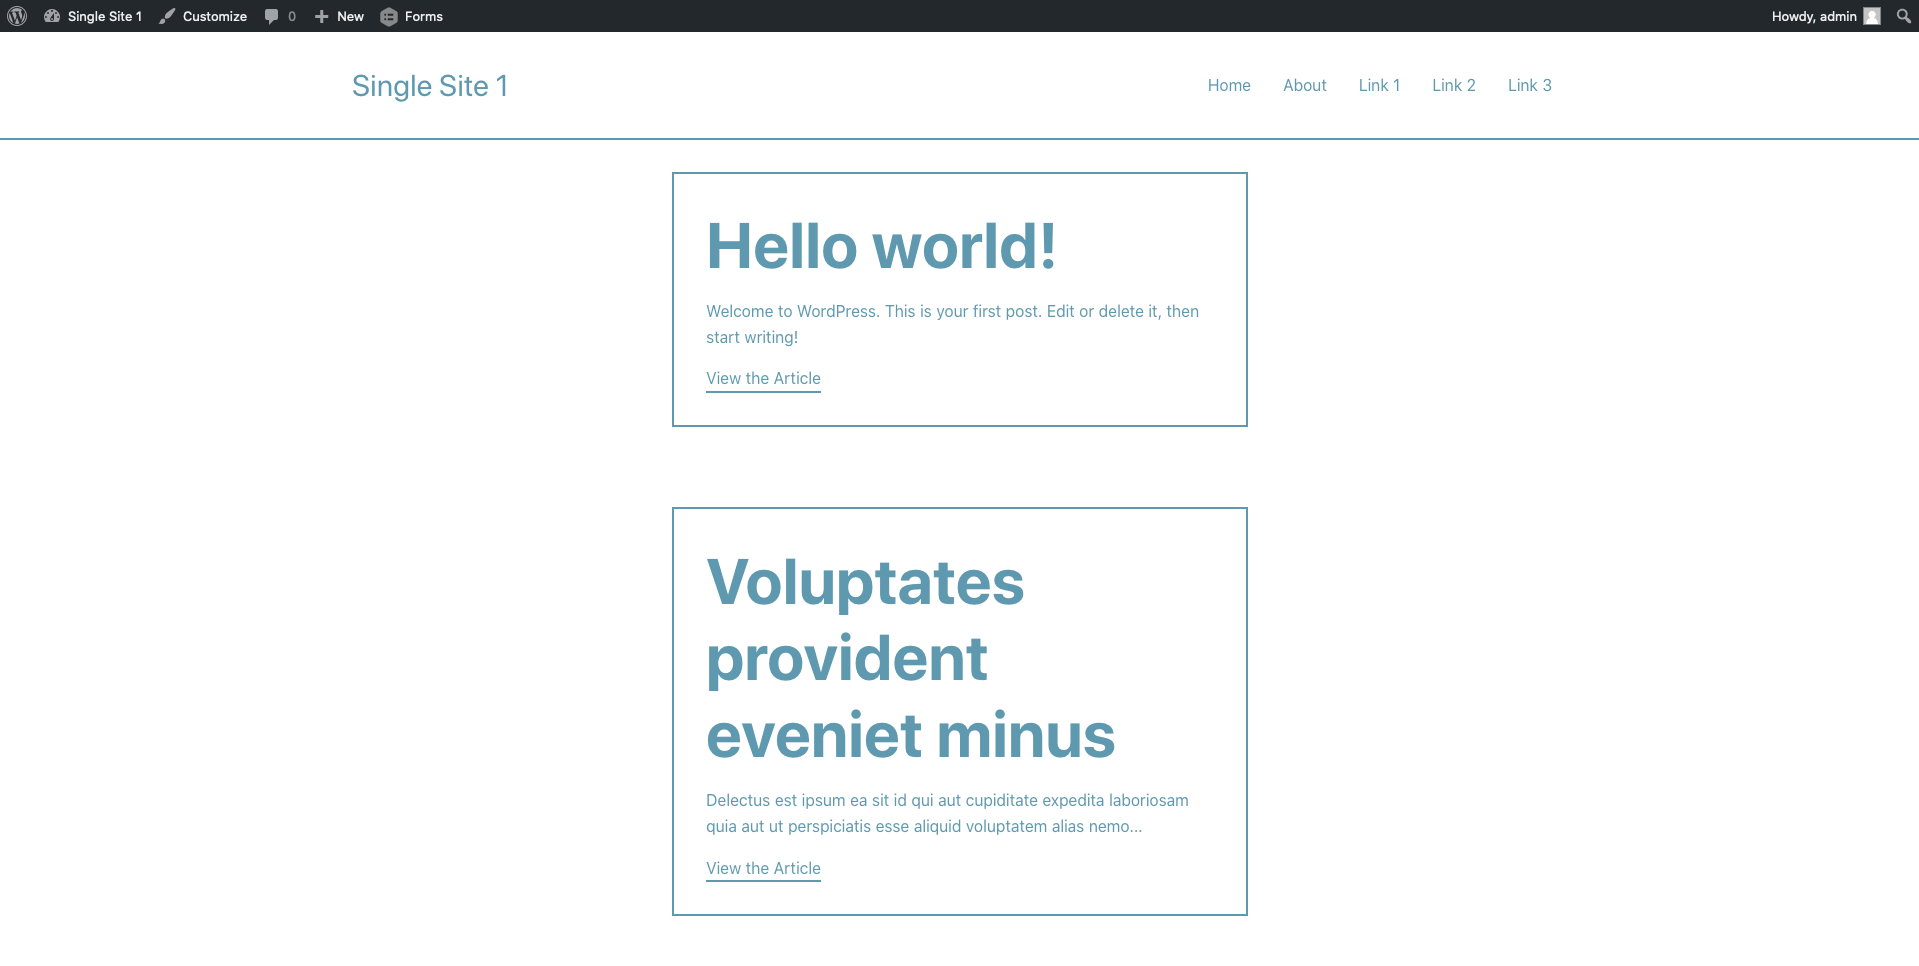
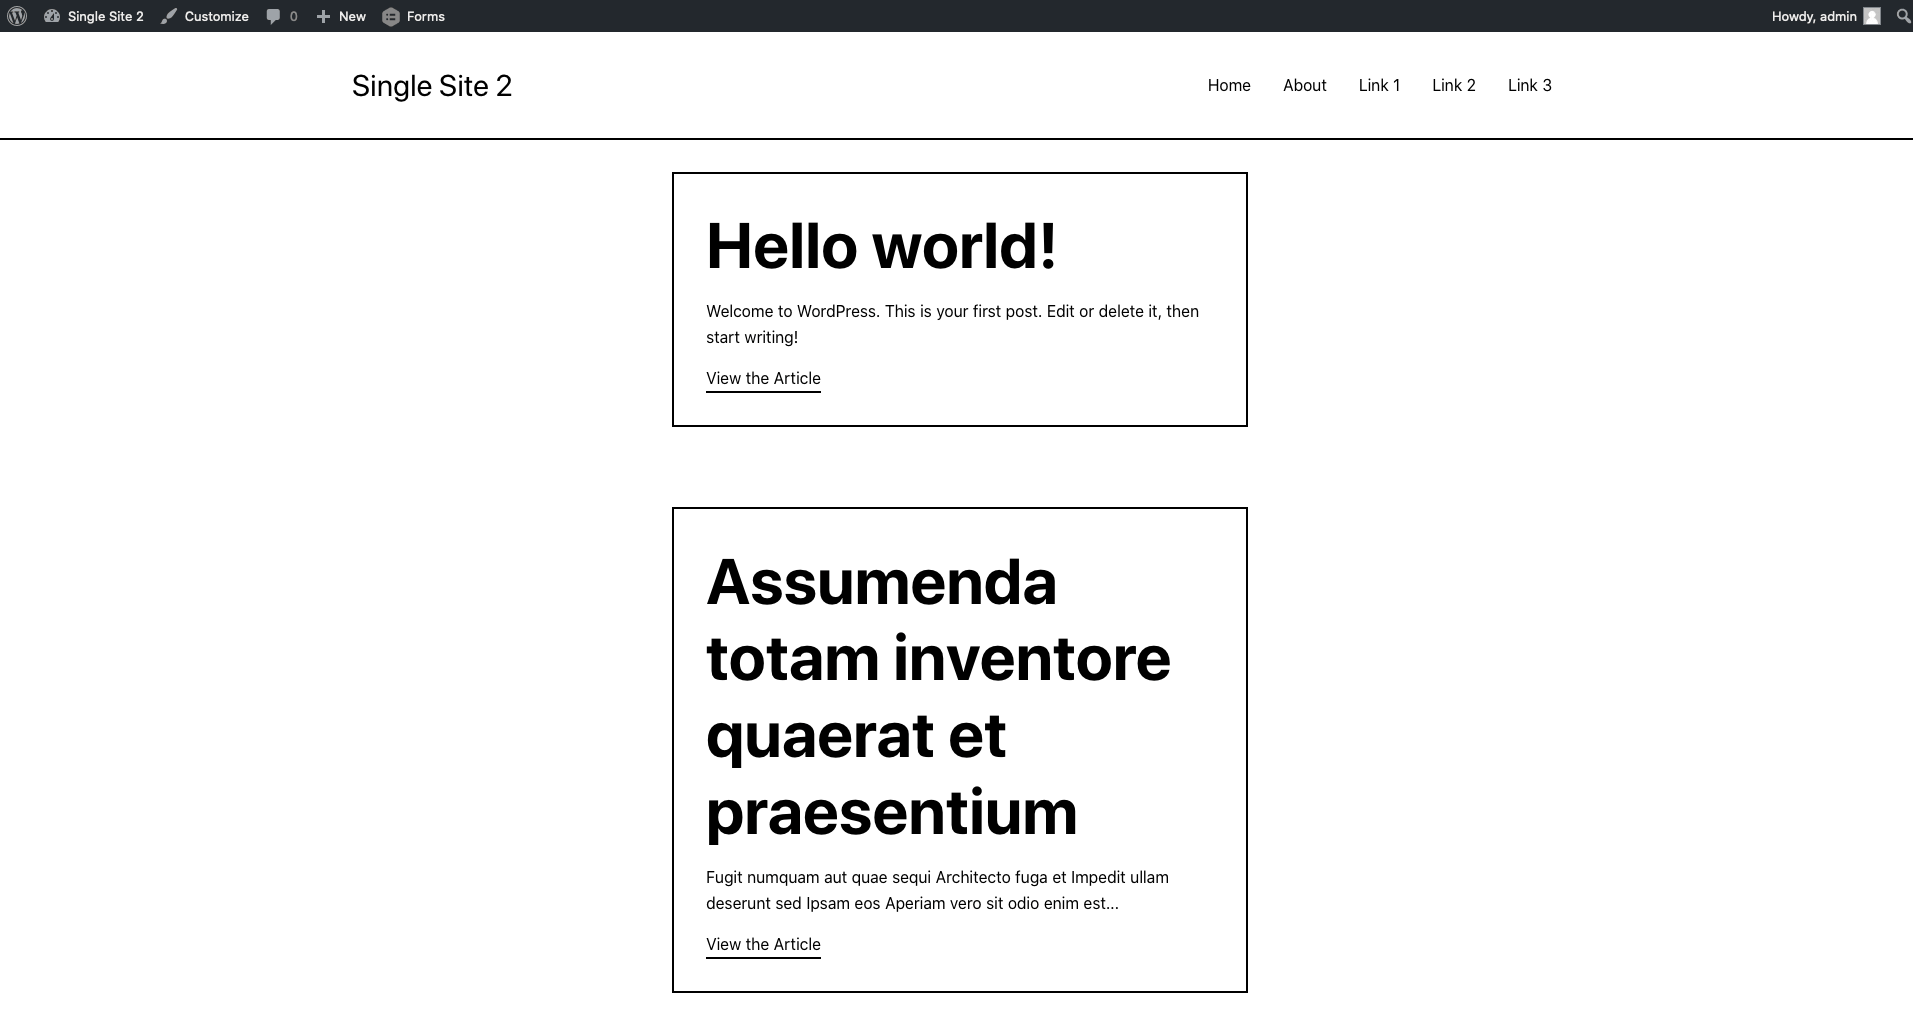
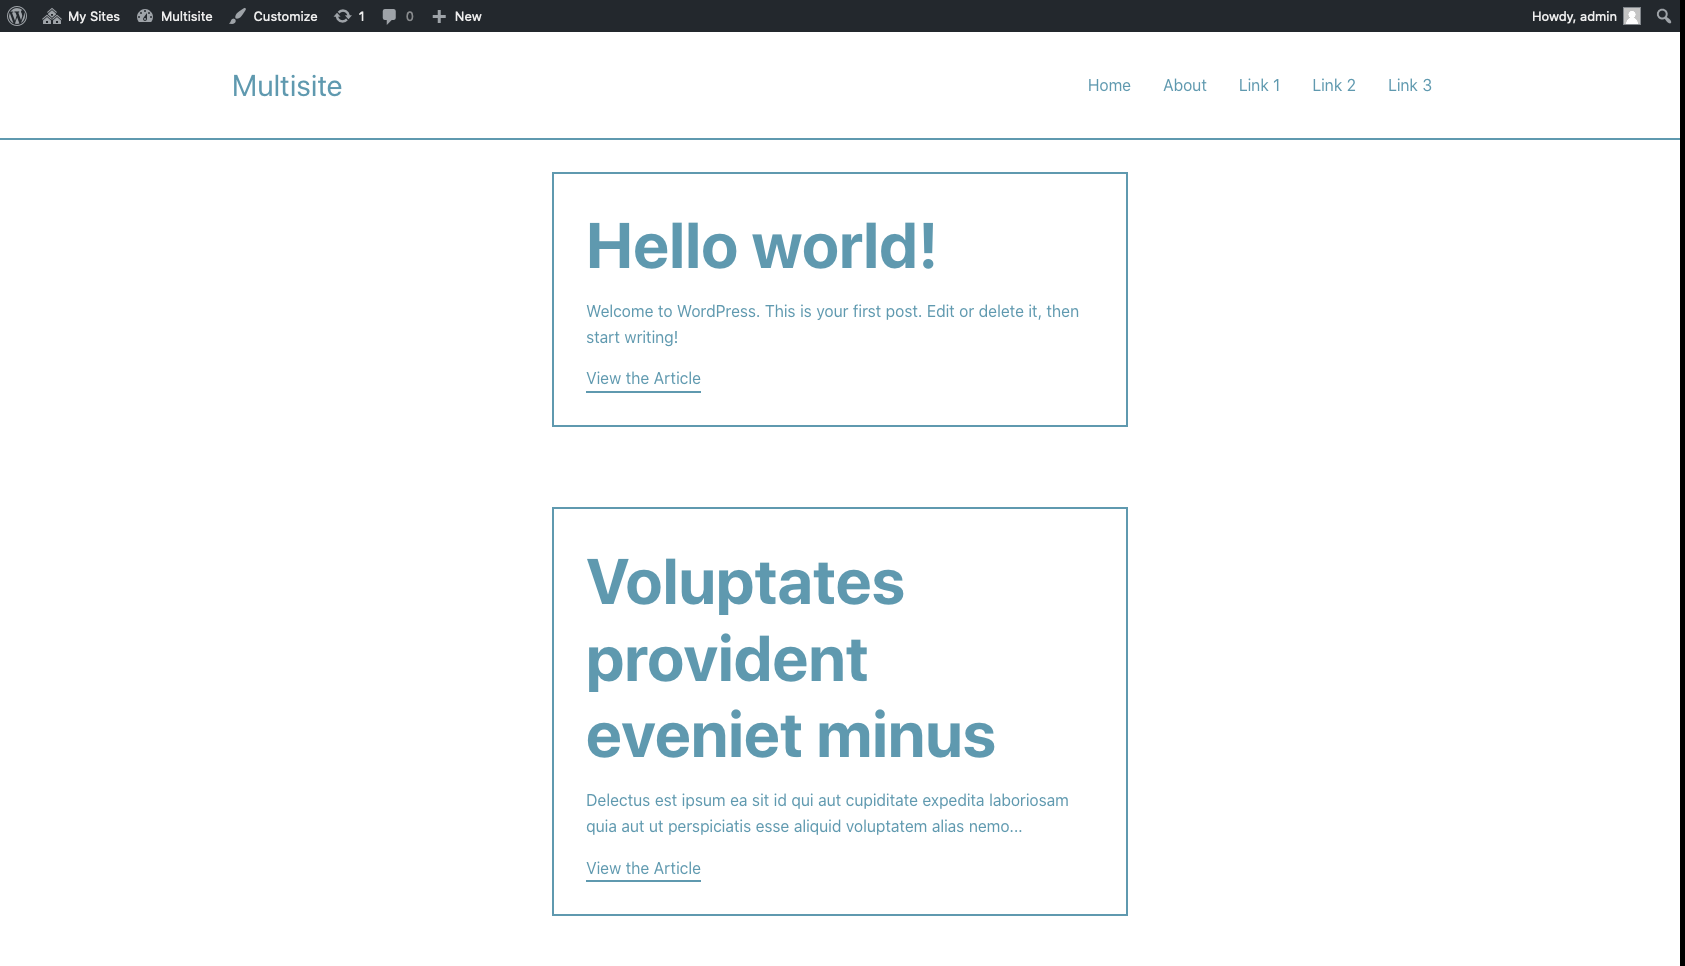
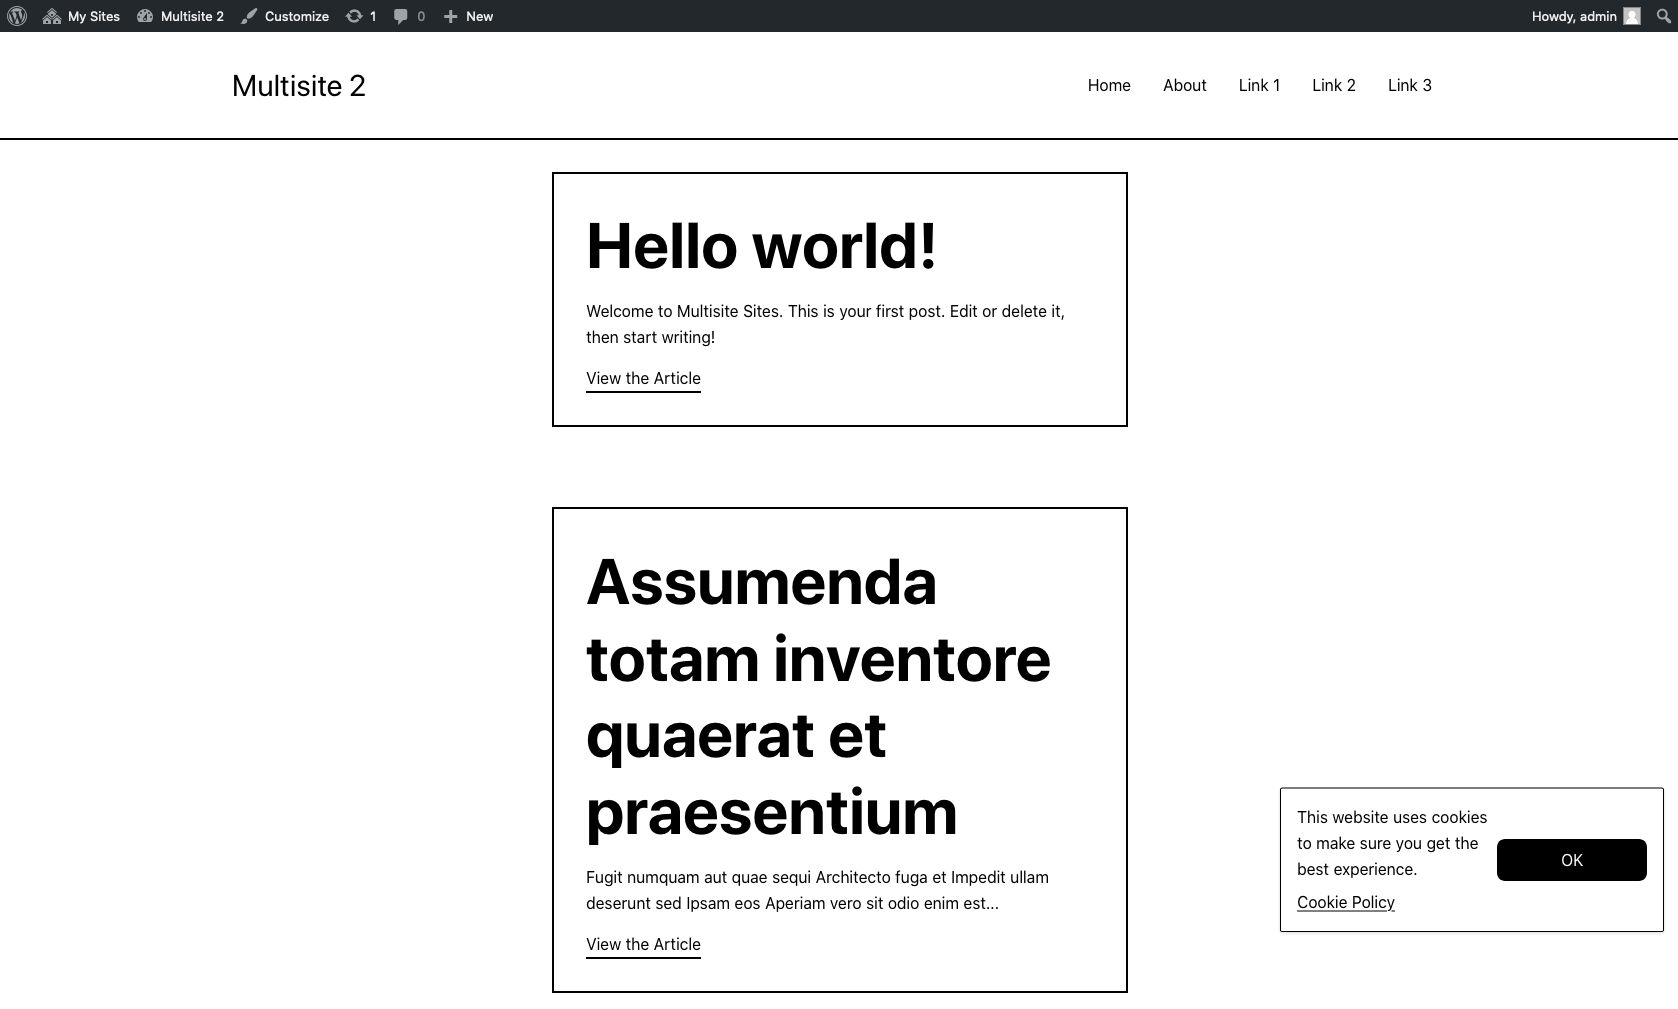
In this tutorial, I will be going over how to migrate multiple WordPress installs into one WordPress Multisite install. This tutorial will work for sites with different domain names, sub-domains or sub-directories. In this scenario I will be migrating two sites (site 1 using a blue theme, and site 2 a black theme) over to a single Multisite install, using a sub-directory URL structure.
Backups
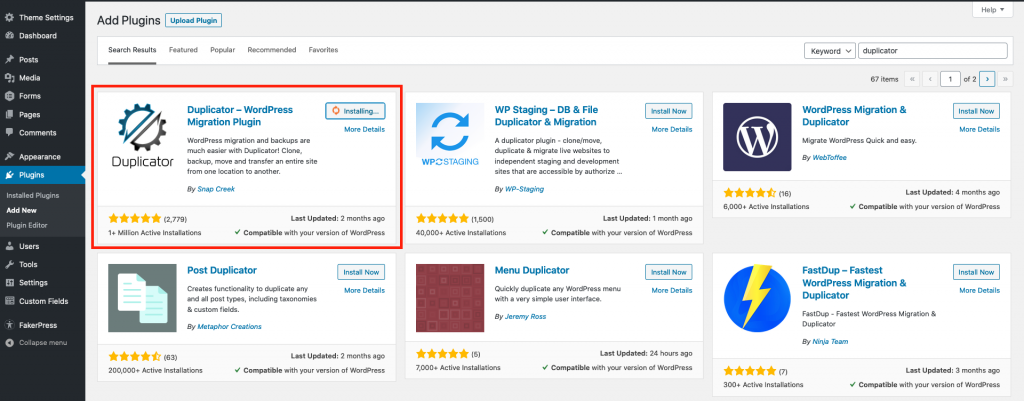
The initial step is to take backups of each WordPress site. Depending on your hosting setup you may be able to take a site backup via your host admin dashboard. In this example, I am going to go with a plugin alternative in the Duplicator plugin (it can be found in the WordPress plugin section of the backend).
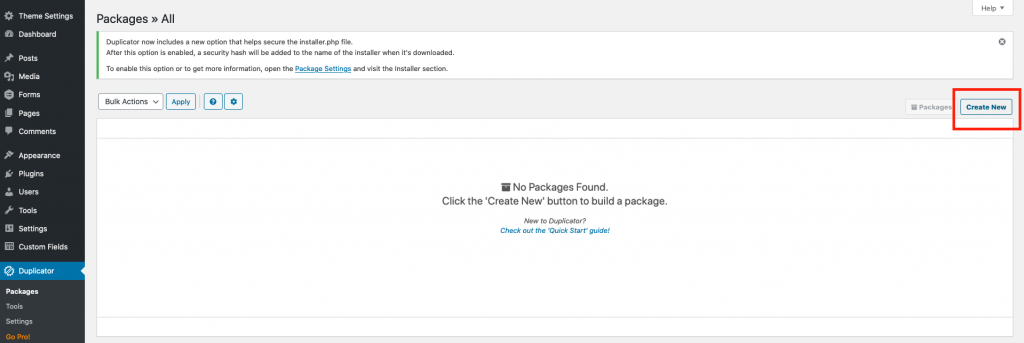
Once the Duplicator plugin is installed (if you have acquired the backup of your site already, you can skip this section), navigate to the packages option. You will need to create a new package. It will then display options for the backup file name, and specifically choosing which parts of the site you want to backup. If you leave everything as default it will take a complete copy of your site.
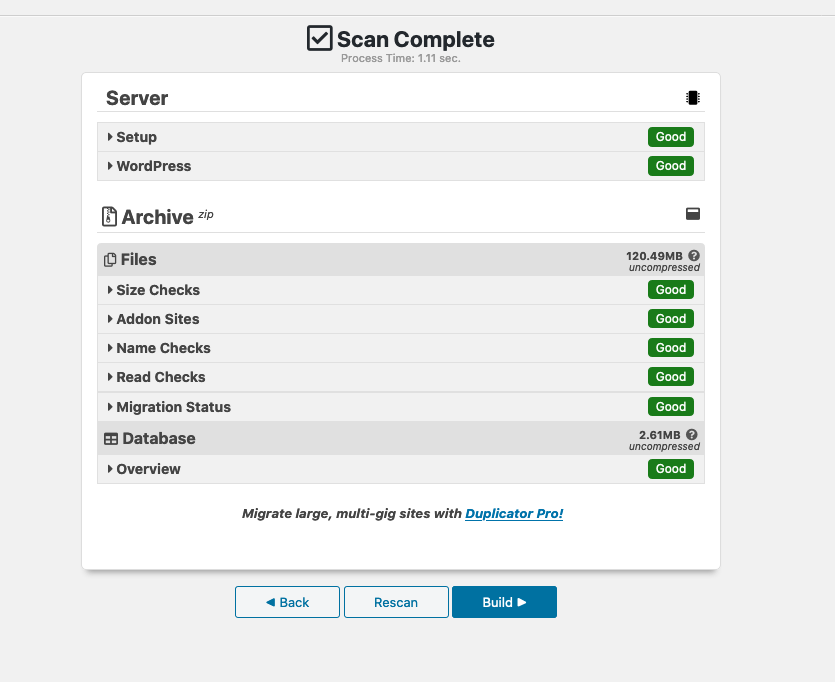
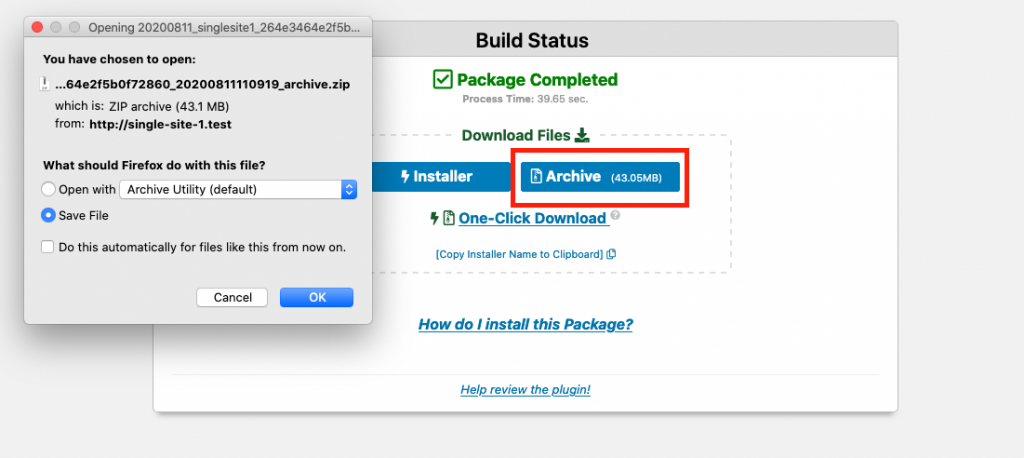
Once the backup options have been selected, Duplicator will scan your site. If the scan completes successfully you will be to start the build process. Duplicator will then begin to package your WordPress site. Once complete you will only need to download the archive file as we only need access to the sites wp-content folder.
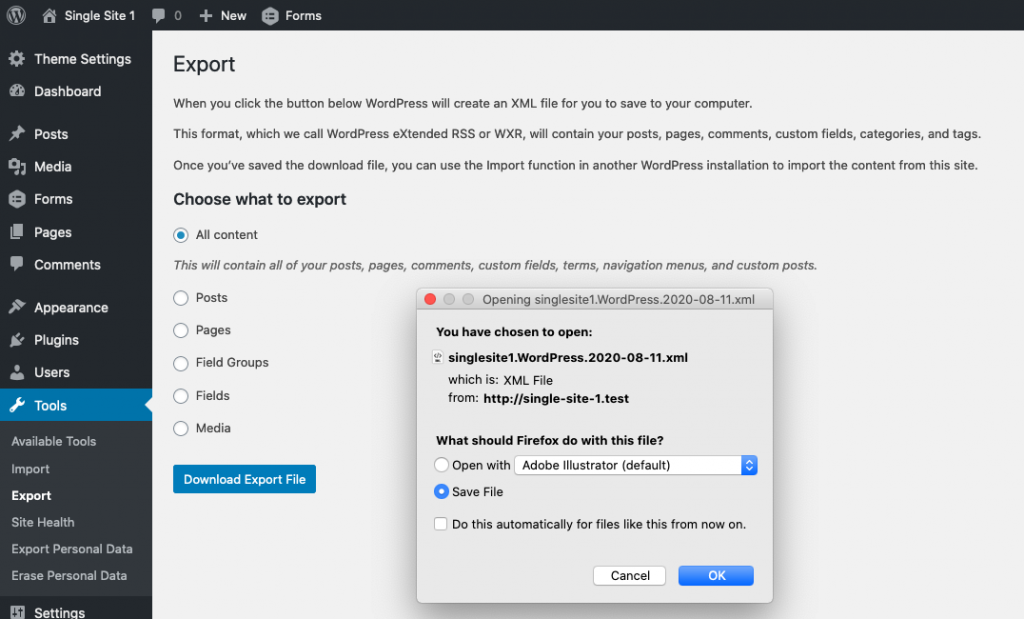
We will then take an XML export of all the sites content (Tools > Export). As we are starting our multisite with a fresh database, it is essential we take a copy of the posts in order to repopulate our site further down the line. You will need to repeat the entire backup process for each WordPress site.
Installing WordPress Multisite
Our next step is to install WordPress on our multisite. You just need to install WordPress as if it were a normal installation, I have used the WPCLI command wp core download in order to install WordPress. For this example I am creating the Multisite locally but the following instructions still apply when installing to an Apache server.
Run through the WordPress setup as you normally would, setting up the database and admin login credentials. Once setup you will then need to alter the wp-config.php. Open the wp-config.php in your prefered code editor and add the following code.
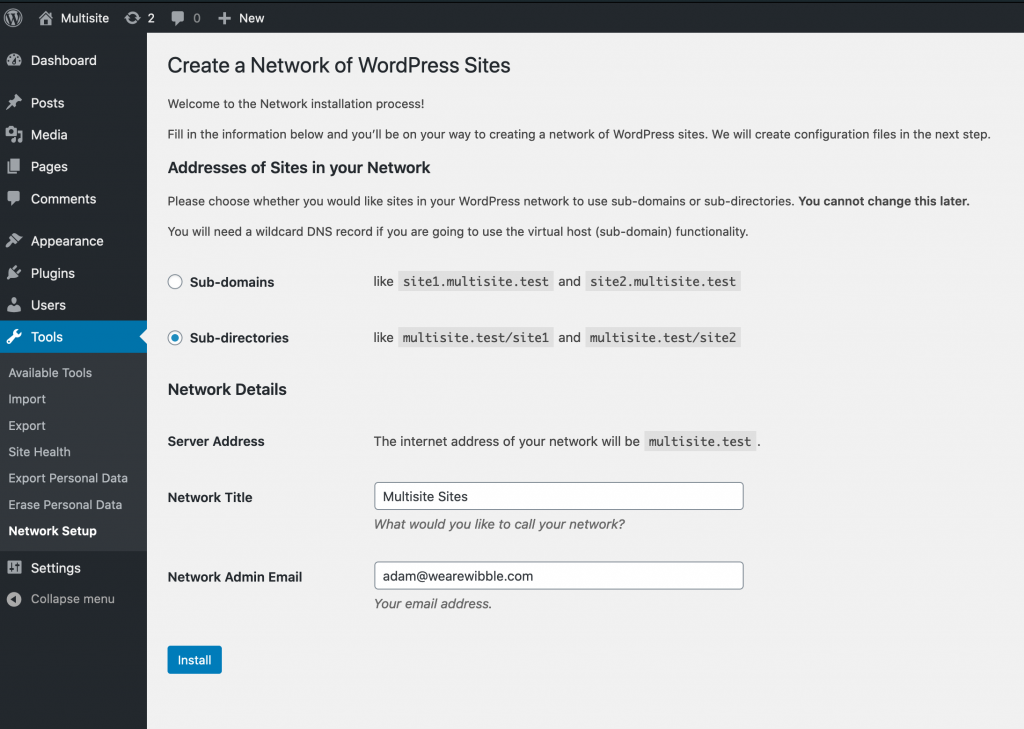
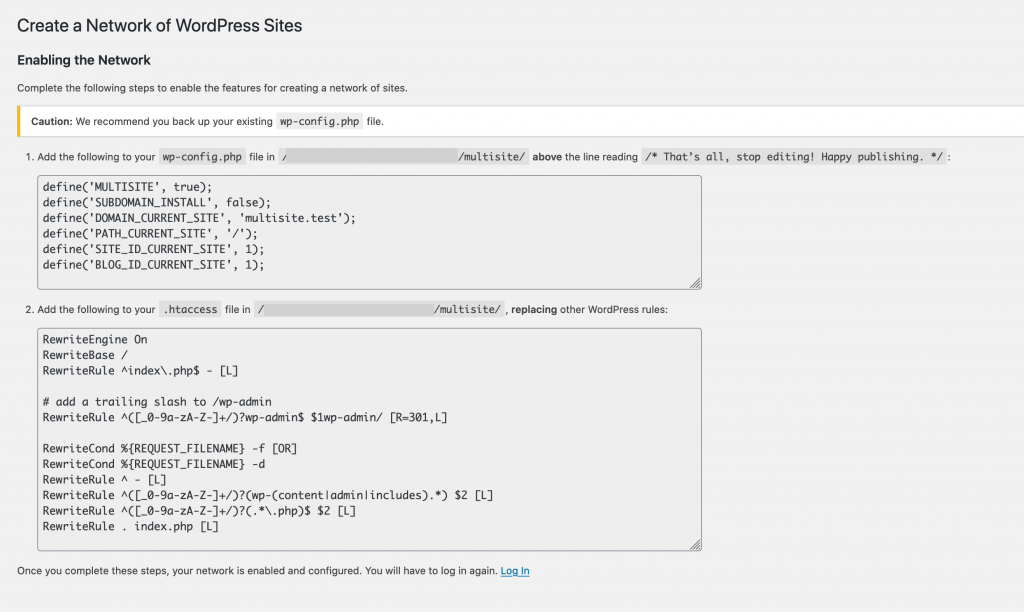
Save your changes and head back to the WordPress dashboard. Under “Tools”, you will now see the option “Network Setup”. Here is where we can start setting up our networks options. In this example, I will be using sub-directories to house my separate sites, but the same rules apply if you tick the sub-domains option. You will then have to choose the network wide title and admin email address (these can be later changed in the network settings).
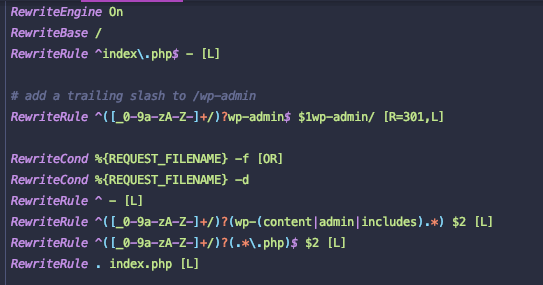
WordPress will then provide you with code snippets. You will need to add these snippets to your wp-config.php and .htaccess file. I have chosen not to provide these code snippets as your setup may be different to mine.
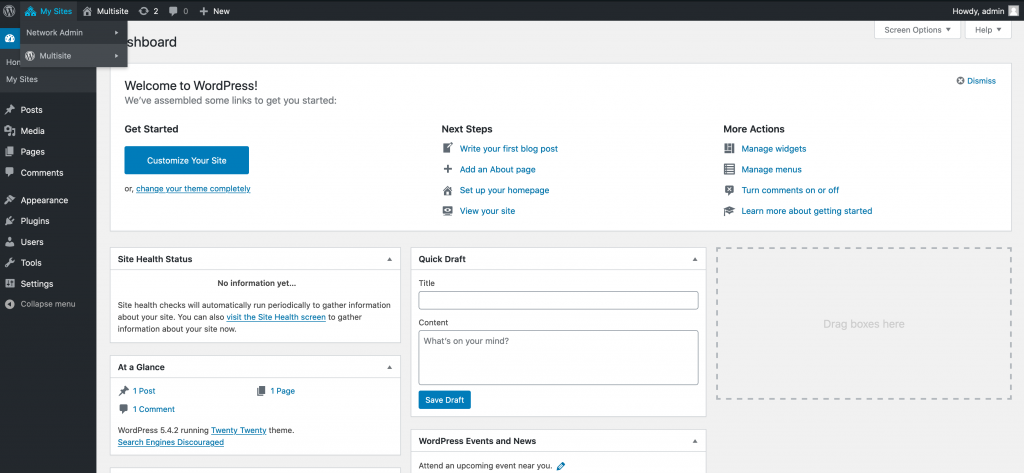
After saving your files with the newly added code snippets, you will then be asked to log back into your WordPress Multisite. At this point the Multisite setup is complete and it is time for us to add back our sites.
Adding new sites
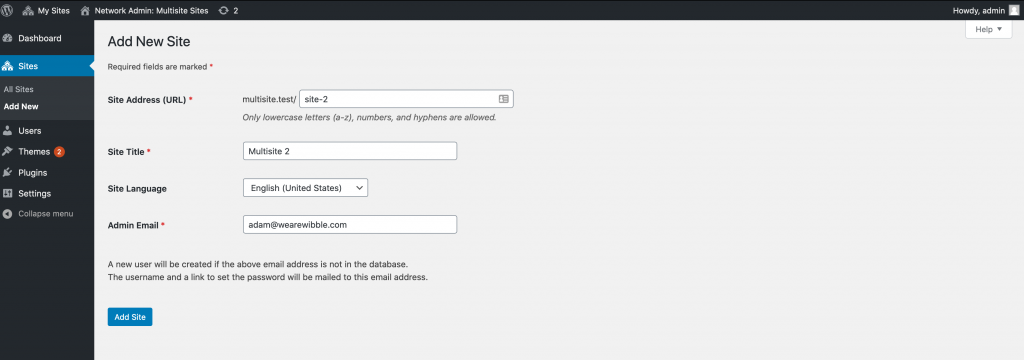
The first step in adding back our individual WordPress sites, is to setup our sites in the Network Admin of the WordPress Multisite. You will need to navigate to “Sites > Add New”. In this case I am only adding one sub-directory and the primary domain will take the mantle of our first site.
After the sites have been setup you will now be able to navigate between each sites dashboard all under one install. With WordPress Multisite, when adding plugins and themes they have to enabled through the network admin, this is due to the folder structure. Instead of having a separate wp-content folder for each individual site within the multisite, there is just the one network wide wp-content folder.
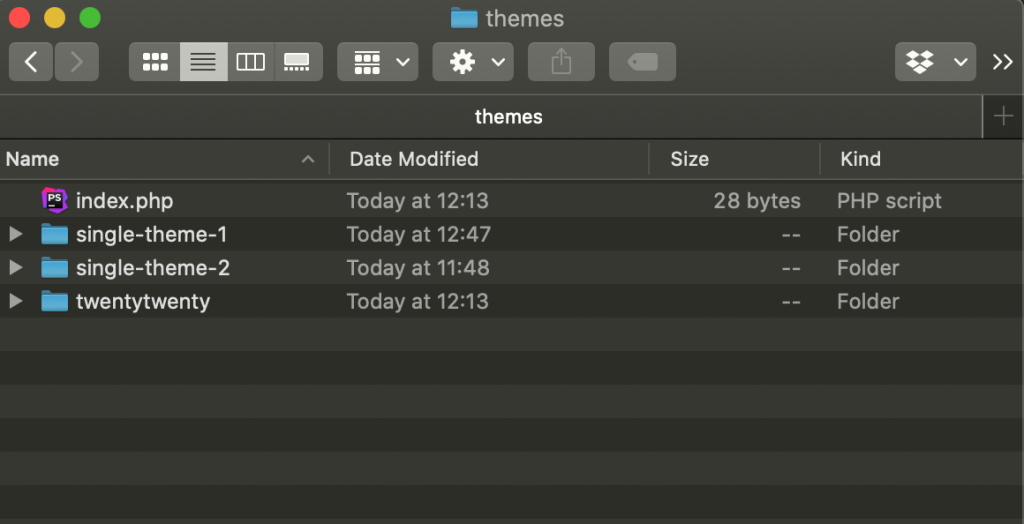
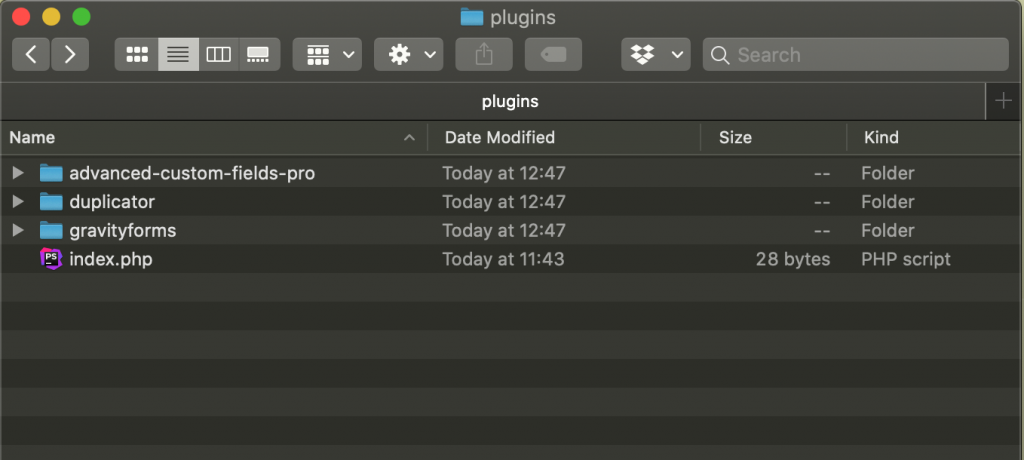
We need to extract the backups we took earlier of each of the single sites and copy over the themes and plugins. We will come back to the uploads later.
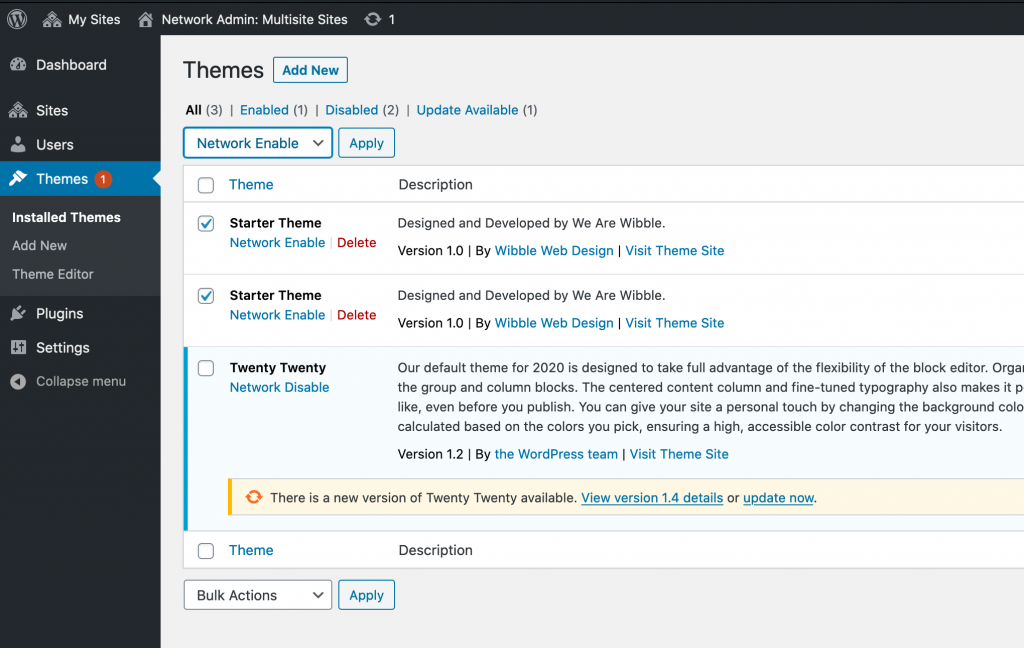
If you go to Themes in the network admin, you will now need to Network Enable the individual themes for the previously backed up sites.
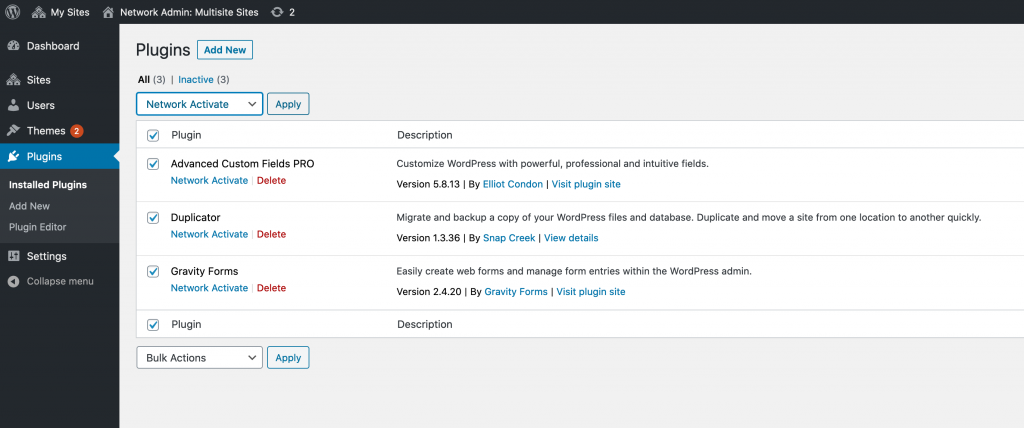
The same rules apply for the plugins. If you network activate the plugins, you will then be able to enable or disable them on the individual site’s dashboards.
We are finally on the home stretch. Now go into the individual sites dashboards and select the appropriate theme. The plugins will already be activated by the network so we will then need to import the XML file you took earlier containing the posts and content of the sites. If we now view sites within our Multisite install, they should now begin to resemble the original site pre-backup.
Migrating uploads
The last step of the transfer process would be to ensure the uploads have been transfered over correctly. If we go to the wp-content folder of the multisite and then into uploads. You should now see a folder called sites. How multisites store uploads is slightly different to normal WordPress installs. The main site will follow the same structure as before /wp-content/uploads/2020/08/image.png , but for any other site in the Multisite network it will follow this new folder structure, /wp-content/uploads/sites/02/2020/08/image.png. The /sites/02/ part of the URL structure resembles the site number in the Multisite network, if you were to add more sites they would be 03, 04, etc….
After adding the uploads to the appropriate folders, the Multisite migration is now complete. We have now successfully housed multiple sites under one WordPress installation. If you run into further problems during the migration, WordPress.org have a list of potential issues you may encounter here.
Wibble are experts with all things WordPress. If you need help getting started with your own WordPress project why not contact us and we will be happy to help.